A complete guide to temperature and humidity for autoflowers
Growing weed indoors sounds easy, right?
A quick trip to your local hydroponics supply store, a few thousands bucks down the drain, and you’re in business.
Yeah, nope…
You can have the best auto genetics (like what we offer right here), the best lights, the best airflow control, solid watering, amazing nutes, and everything can still go sideways – and, for new growers, often does.
Why?
Environmental control, specifically getting your grow room or tent temperature and humidity stable in the right range, is easier said than done, especially if you live with real seasonal swings (too hot in summer, freezing in winter) or you’re growing in a space like a loft, basement, or cupboard.
Why temperature and humidity matter for autoflowers
Autoflowers grow fast. That’s one of their biggest benefits, but it also comes with one massive downside – you’ve got less time to correct mistakes. If your environment is even slightly off for a few days, you’ll probably not notice right away, but your plants will, and the final yield will definitely show it.
Unlike photoperiods, autos don’t have time to wait for you to fix things. Once they flip to flower, that’s it. So if your humidity is too high or your temps are swinging too much, there’s a real risk of stunted growth, weak structure, and mould problems.
Even with good lights and strong genetics, I had runs fall short just because of sloppy climate control in my first year growing. I got lucky with my first run, everything worked out easy. But on my second go round, it all fell apart, and I had no real idea what was happening.
The temps were only a little higher than before, but I wasn’t watching humidity (or VPD) with enough weight. I learned the hard way, with mould taking over what should have been a 700 to 1000 gram harvest.
Seedling stage: temperature and RH targets
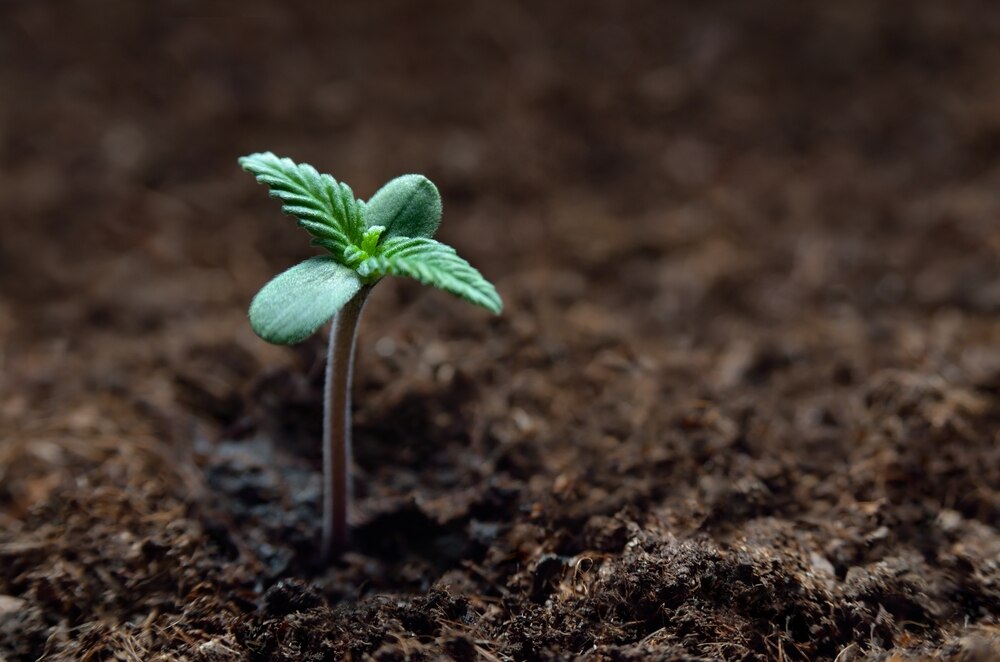
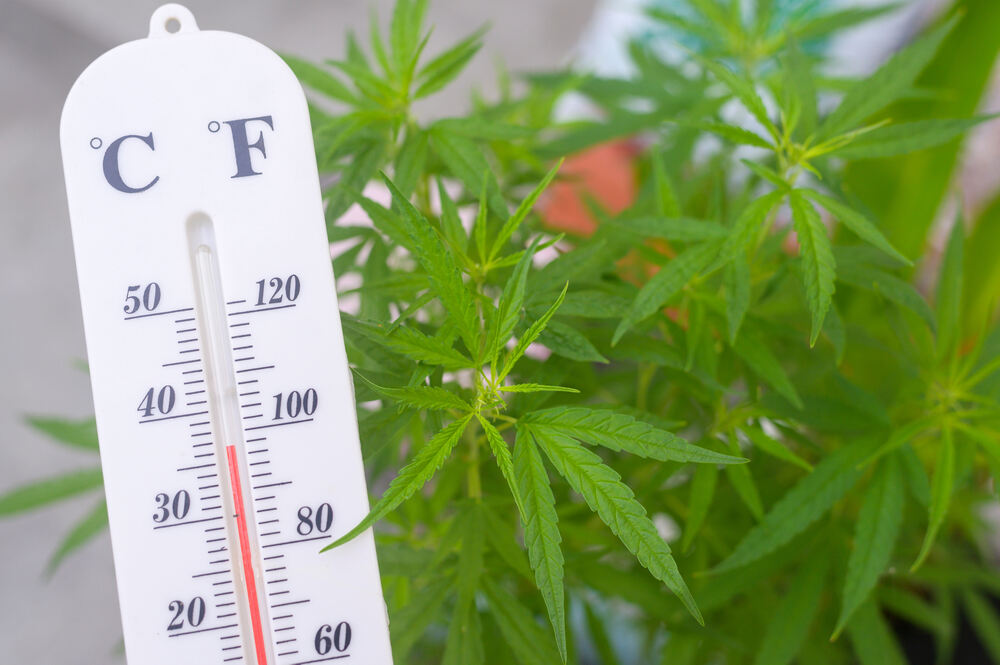
For seedlings, you want higher humidity and warm temps. I find 26 to 28°C (78 to 82°F) works best, with humidity at 70 to 75%. That level of moisture really helps support early root development and keeps young plants from drying out.
You can use a humidity dome or just raise the ambient RH in your space. Either way, don’t let things dry out too fast in the first few days or they’ll stall right out of the gate.
Vegetative stage: optimal conditions for healthy growth
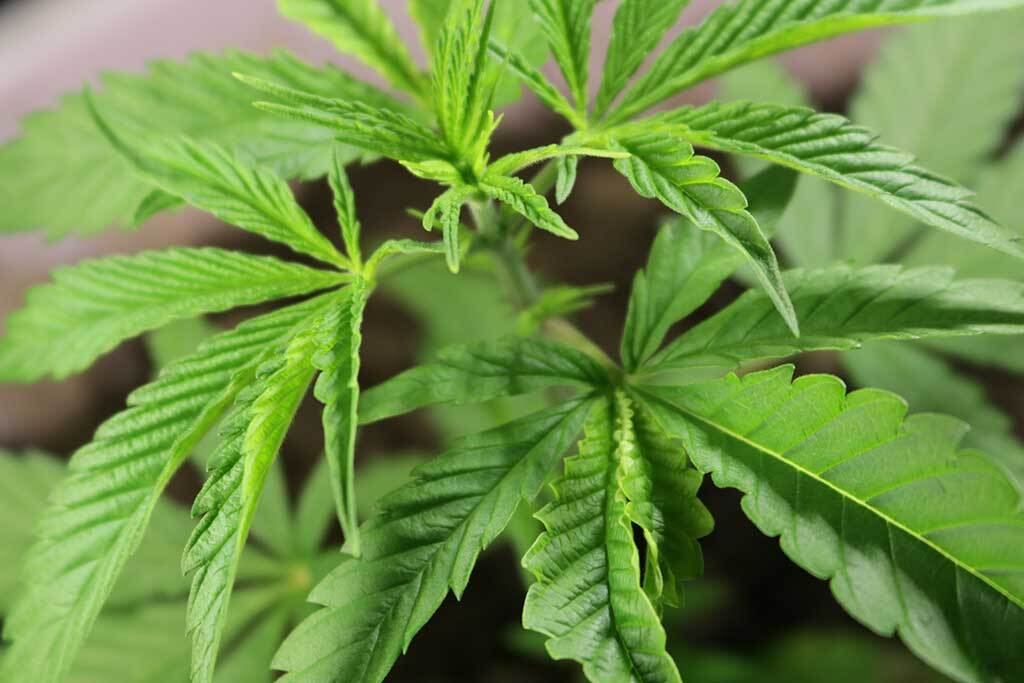
Once your plant has found its feet and is putting on true leaves, drop humidity to 60% at the start of veg and aim to bring it down to 50% when flowering kicks in.
Keep your temps between 24 and 27°C (75 to 81°F) from start to finish. You want strong, steady growth without heat stress. If you’re dialled in here, plants will be lush and bushy, with plenty of leaf turgor and fast node development.
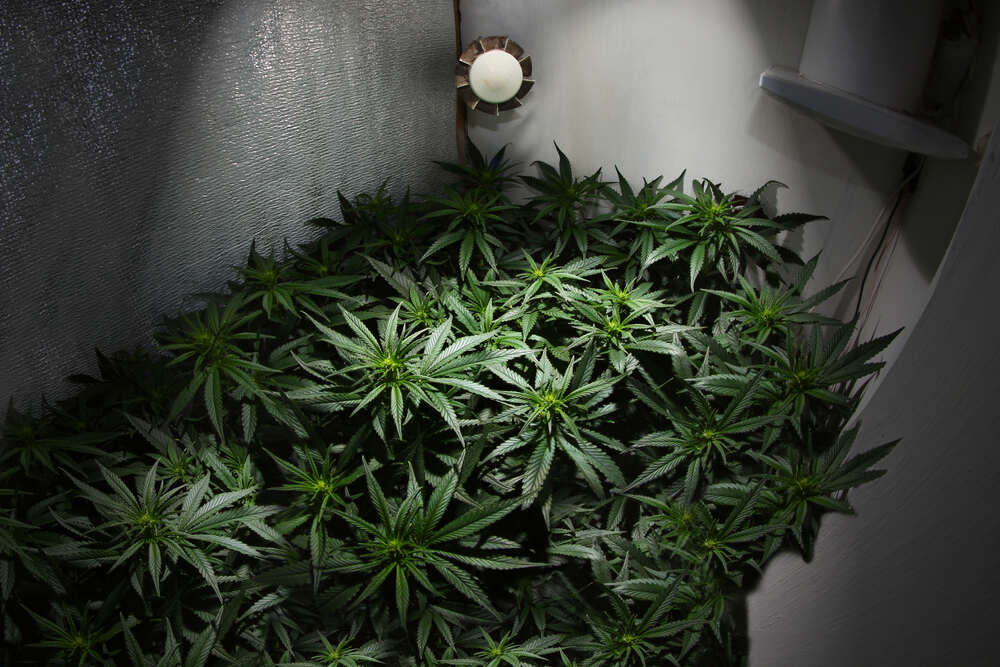
Flowering stage: reducing humidity to prevent mould and boost potency
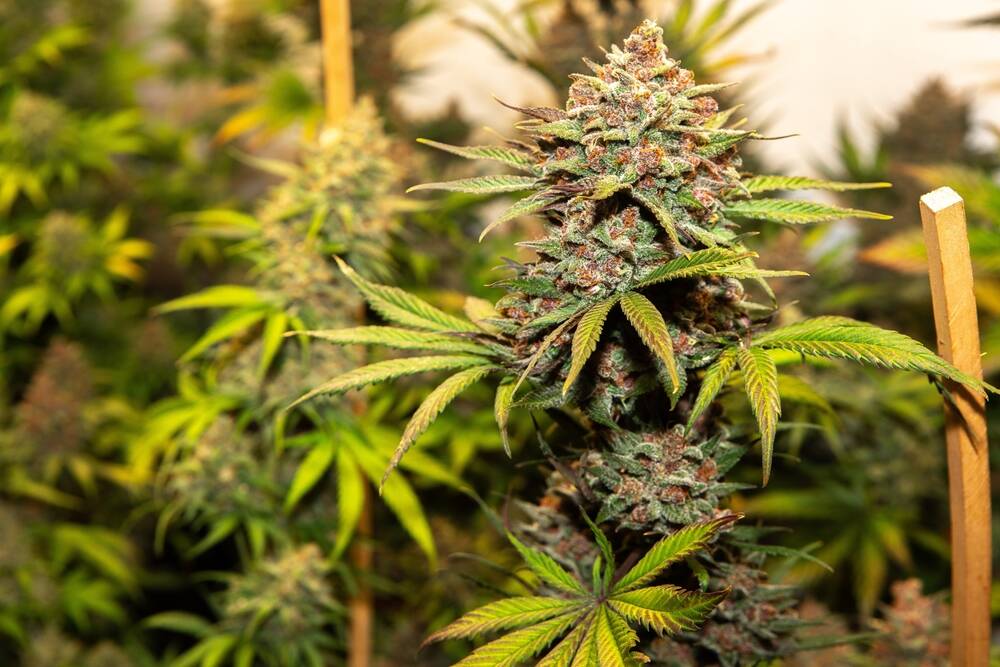
At the start of flower, 50% RH is ideal. Once the buds begin to bulk up and fill out, I start lowering it further. For the final three weeks, try to keep it closer to 45%.
Temperature-wise, I keep things between 22 and 26°C (72 to 79°F) throughout flower.
Day vs night temperature differences: what’s ideal?
During lights-off, it’s totally fine for temps to drop by about 5°C (10°F). This is normal and even beneficial in most grow rooms. The plants can handle it and it helps mimic natural outdoor rhythms.
Some people go even further and drop night temps to below 15°C (59°F) to encourage purple colouration in the buds. That can work if your genetics are prone to it, but it’s not something I personally do. I focus more on keeping everything stable and predictable.
The role of VPD (Vapour Pressure Deficit) in autoflower growth
VPD is one of those terms that gets thrown around a lot, and sure, it sounds technical – but it’s actually pretty straightforward, easy to work otu, and really useful once you get your head around it. It’s the relationship between temperature and humidity, and how much moisture your plants can actually “breathe out” through their leaves.
When VPD is in the right zone, your plants can transpire properly, pull up nutrients efficiently, and grow at their best.
The sweet spot for VPD changes depending on the stage your plant’s in. Seedlings like low VPD, which means higher humidity. In veg, you want a moderate balance, and by flower, you’re pushing VPD higher by dropping the humidity to encourage tighter, frostier buds. You don’t need to obsess over the numbers, but it’s worth running your conditions through a VPD chart every now and then.
When VPD is way off, plants either start to slow down or get stressed without obvious signs. A cheap hygrometre and thermometre are fine to start with, but if you’re getting serious, look into VPD calculators or grow room controllers that show it for you.
Effects of poor temperature and humidity control on yield and quality
It doesn’t take much to throw things off in an indoor grow. If your temps or RH are out of range for too long, you’ll usually still get a harvest (unless mould takes over) but it won’t be what it could have been.
On the quality side, loose and airy buds are usually a sign that things were off during flower. That could be not enough light intensity, a lack of air exchange, or any number of environmental mistakes.
You might also see weak trichome coverage, muted smell, and harsher smoke. A solid grow can turn into a very average one just from climate slip-ups. That’s why it’s always worth keeping your temperature and humidity steady before messing with anything else.
How to control temperature and humidity indoors
Getting the right climate setup is just as important as good genetics and lighting. Without steady temperature and humidity, your autoflowers will either slow down or start showing signs of stress. Here’s how I keep my indoor grows stable across all seasons.
Using fans, dehumidifiers, and heaters effectively
- Clip-on fans are the easiest way to keep air moving inside the tent. I always run at least one above and one below the canopy (more in big tents).
- An inline exhaust fan with a speed controller is also essential and helps pull hot air out and keep things cool when your lights are running. In winter, I’ll run a small space heater to maintain a steady temp. Just make sure it doesn’t blow directly on the plants or dry them out.
- A dehumidifier becomes important once you’re in mid to late flower if your climate runs humid. And if you’re pulling fresh air in from outside, use a basic intake filter to keep pests and spores out.
Best grow tents and ventilation setups for stable conditions
Grow tents hold temperature and humidity more reliably than open rooms. I like using passive intake vents combined with an active exhaust system for balanced airflow. That means letting cool air in from the bottom, while warm air is pulled out from the top.
Carbon filters are useful, and not just for the smell. They add a little resistance to the airflow, which helps stabilize pressure inside the tent. I aim to exchange the air in my tent completely every minute or two. If you’re growing in a colder space like a shed or garage, insulating the tent with foam panels or reflective sheeting can really help with consistency.
Tips for maintaining consistency during seasonal changes
Your setup will always need a bit of tweaking depending on the time of year. In summer, I run lights overnight to avoid the worst of the heat. In winter, I switch it back to daytime to make the most of ambient warmth. You might need to run an AC unit or heater depending on where you are.
I usually adjust my exhaust fan speed and intake venting depending on what the weather is doing outside. Humidity can also swing pretty hard, so having a humidifier or dehumidifier on standby is a must for me.
One thing that helps a lot is keeping a grow log. I note down temp, humidity, and any gear adjustments I make. That way, when something goes wrong, I can go back and figure out what changed, and when i start a new grow, I can look back at what adjustments were needed for that time of year previously.
Monitoring tools and techniques for growers
Even if your tent is set up perfectly, you’re still going to need to keep an eye on the climate throughout your grow. This is where decent monitoring gear pays for itself.
You don’t need to drop hundreds, but accuracy and ease-of-use make a difference.
Recommended hygrometres, thermometres, and controllers
- Go for digital hygrometres with external probe sensors. You can clip the probe near the canopy to get a much more accurate reading of what your plants are feeling, not just what’s happening at the base of the tent.
- Thermometres with memory functions are also great for tracking the high and low swings across a 24-hour cycle. I rate the Inkbird controllers for basic setups, or the AC Infinity controllers if you’re using one of their inline fans. The automation makes life a lot easier, especially if you’re growing somewhere with big daily temp swings.
- Bluetooth monitors that send data straight to your phone are super handy. Just make sure you’re checking the calibration on your sensors now and then. Even a good monitor can drift over time.
How often to check and adjust your grow room climate
In flower, I check twice a day, once just after lights come on, and again after lights go off. These are the moments when things tend to swing the most.
If you’re adjusting things manually, it’s worth logging your readings so you can spot patterns and track your tweaks. Automated setups with controllers and timers reduce how often you need to be hands-on, but I still like to glance at my readouts every time I water or check in.
Common issues and how to fix them
Even when you’ve got a decent setup and have years of indoor growing experience, temperature and humidity control can be a real pain. Whether it’s weather shifts, equipment failure, or just a bad read on your gear, these are the problems that don’t just go away with more knowledge. Here’s how to stay ahead of them.
What to do if humidity is too high or low
If humidity’s running too high:
- Crank up the airflow with extra clip-on fans and up the output of your exhaust setup.
- Adding a dehumidifier to the room can help, and you can also reduce watering slightly to limit excess moisture.
If you’re finding that the humidity is lower than you want:
- Keep pots lifted off cold floors to avoid sudden humidity drops from condensation.
- A small humidifier can actually a long way also. I’ve also used wet towels hung near the intake to bump RH.
I use also always humidity domes over seedlings to protect them during lights off.
Signs of heat stress or cold shock in autoflowers
Heat stress usually shows up as taco-shaped leaves, faded colour, and sometimes even foxtailing later in flower. Cold shock causes plants to droop, slow down, and sometimes throw unexpected purple hues in the leaves or stems.
That can look cool, but it usually means growth has stalled.
Try not to adjust too quickly. Sudden drops or spikes can shock autos. Use your lights-off period to help balance the room temperature if things are running hot. Watch your plants closely for a day or two if you’re making any climate tweaks.
Troubleshooting VPD imbalances
Again, VPD is one of those things that sounds more complex than it is. All you need is your current temperature and humidity, and a decent chart or calculator. If the VPD is too far off, your plants won’t transpire properly which means slower nutrient uptake, calcium deficiencies, and generally stunted development.
The sweet spot for VPD for seedlings is 0.6 to 0.8, then 0.8 to 1.2 for veg, and finally 1.2 to 1.5 for flower. As long as you slowly decrease the humidity over the grow, and keep the temperature mostly stable, everything should work out just fine.