
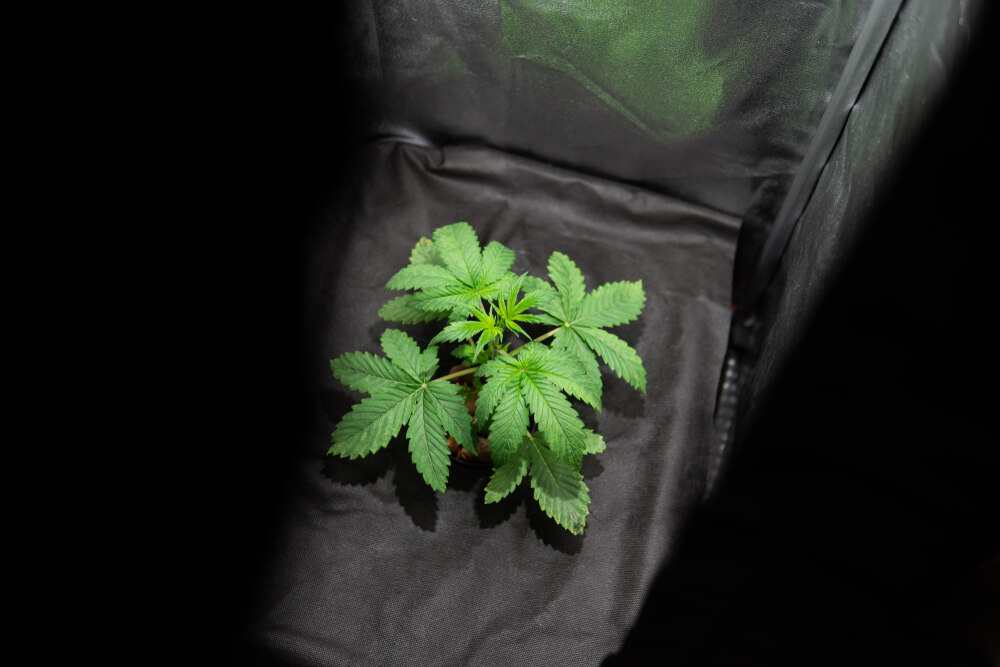
How to grow autoflowers in a grow tent
Autoflowers are built for two things: simplicity and speed, they don’t wait for light schedules to change, and they don’t ask much from the grower beyond consistency. When you pair them with a well-equipped grow tent (and a bit of knowledge), you get a setup that’s compact, discreet, and remarkably efficient. Auto weed plants thrive in controlled environments, they stay small, finish fast, and reward attention to detail. I started growing 15 years ago, and things have changed a lot in that time. We are talking better genetics, smarter gear, and way more access to information. But the core idea has stayed the same. Keep the environment stable, give your plants what they need, and they’ll do the rest. This write-up is everything I’ve learned about growing autoflowers in a tent, I’ll walk you through choosing the right space, managing airflow, lighting, humidity, and how to keep your plants healthy from seed to harvest. If you’re just starting out, or looking to dial in a setup that runs clean and consistent, this is where I’d begin.
Why autoflowers are ideal for grow tent setups
Autoflowers suit grow tents by design.
Their compact size, fixed schedule, and short lifecycle align neatly with the limits and advantages of an enclosed space. They don’t rely on changing light cycles to flower, and they’re not prone to the overgrowth that makes photoperiod strains harder to manage indoors.
What makes autoflowers different from photoperiod strains
Photoperiod strains require a shift to 12 hours of darkness to enter the flowering stage. Autoflowers do not. They progress through their lifecycle on a fixed internal timer, typically moving into flower after three to five weeks, regardless of how much light they receive.
This removes the need to manage seasonal light changes or artificial light timing. It also makes them more flexible in environments where light leaks or interruptions might otherwise be an issue. Their growth is time-driven, not schedule-sensitive.
Advantages of growing autoflowers in a tent environment
A grow tent offers what autoflowers respond to best: consistency
Temperature, humidity, airflow, and light can be held steady throughout the entire cycle. With a good setup, most of the usual sources of plant stress are removed.
What you gain:
- A stable light schedule that supports growth without manual switching
- Space efficiency, especially in 2×2 or 2×4 tents
- Better control over environmental factors
- Easier odor management through sealed systems and filters
If you’re working with limited space and want reliable results, autoflowers in a tent make for an efficient, controlled grow with very few surprises.
Optimal tent size for autoflowers and plant count per grow
Tent size should reflect your available space, but also your expectations. Autoflowers don’t take up much vertical room, but they do need lateral space to spread, especially if you’re using training techniques.
Here’s a general guide:
- 2×2 ft: one plant, tight quarters, limited room for airflow or adjustments
- 2×4 ft: two, possibly three plants with light training
- 3×3 ft: ideal minimum for most growers — enough space for flexibility
- 4×4 ft: room for four to five autos with even canopy development and airflow clearance
But remember, more space makes everything easier.
You can run larger pots, keep plants further apart, and manage environmentals with less stress. A 2×2 is workable for a single compact plant, but if you have the option, start with a 3×3. A 4×4 tent offers even more breathing room and is often easier to manage than squeezing plants into a smaller space.
Height is less critical than footprint, but you’ll want at least 5 feet to account for lights, hangers, and filter placement. Taller tents also give you more margin for heat dissipation and light distance control.
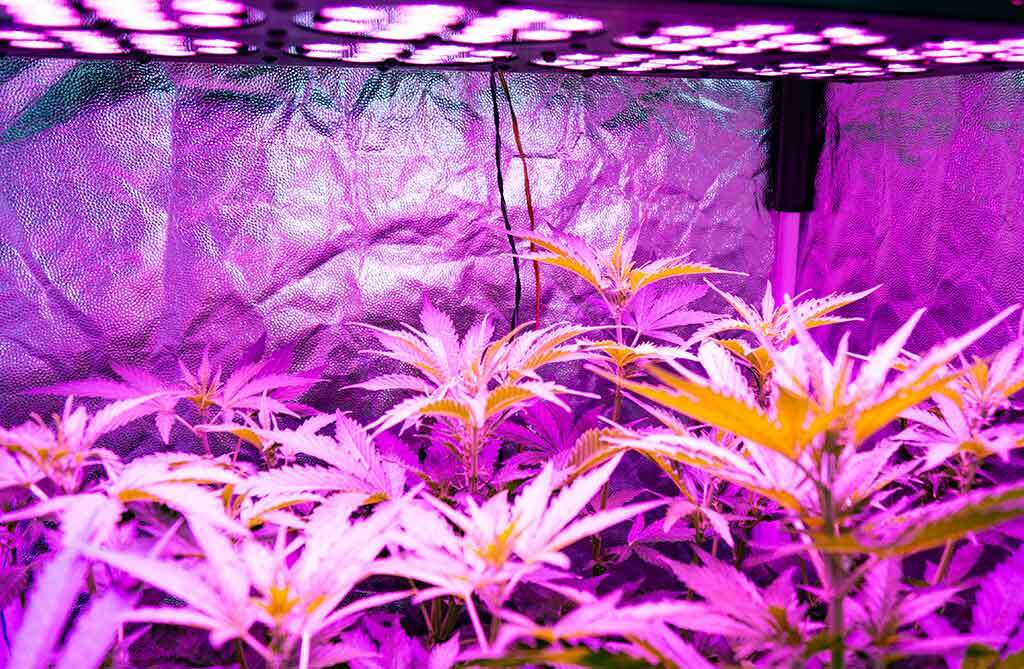
The ideal light setup for autoflowers in a tent
Light is the engine of your grow. Autoflowers might be low-maintenance in other areas, but they are light-hungry by nature. A good setup gives you consistent intensity across the canopy without cooking the tops or wasting energy.
Choosing between LED, HID, and CFL grow lights
Each lighting type comes with trade-offs. For tents, efficiency and heat output are the two main concerns.
- LEDs: High efficiency, low heat, full spectrum. Ideal for tents of any size. Dimmable drivers and passive cooling are common features now, which makes it easier to control light levels without needing extra fans.
- HID (HPS/MH): Strong output and proven results, but high heat and power draw. Requires solid ventilation. Less suitable for small tents unless managed carefully.
- CFLs: Low heat and power usage, but underpowered for full flowering. Acceptable for seedlings and early veg, but most growers outgrow them quickly.
For most home setups, full-spectrum LEDs are the best long-term option. They’re efficient, easier to manage in confined spaces, and don’t require a constant battle with heat. HID options are often combined with LEDs in commercial settings, but LEDs have come far enough to compete with HIDs for hobby weed growers.
Light schedule for autoflowers: 18/6 vs 20/4 vs 24/0
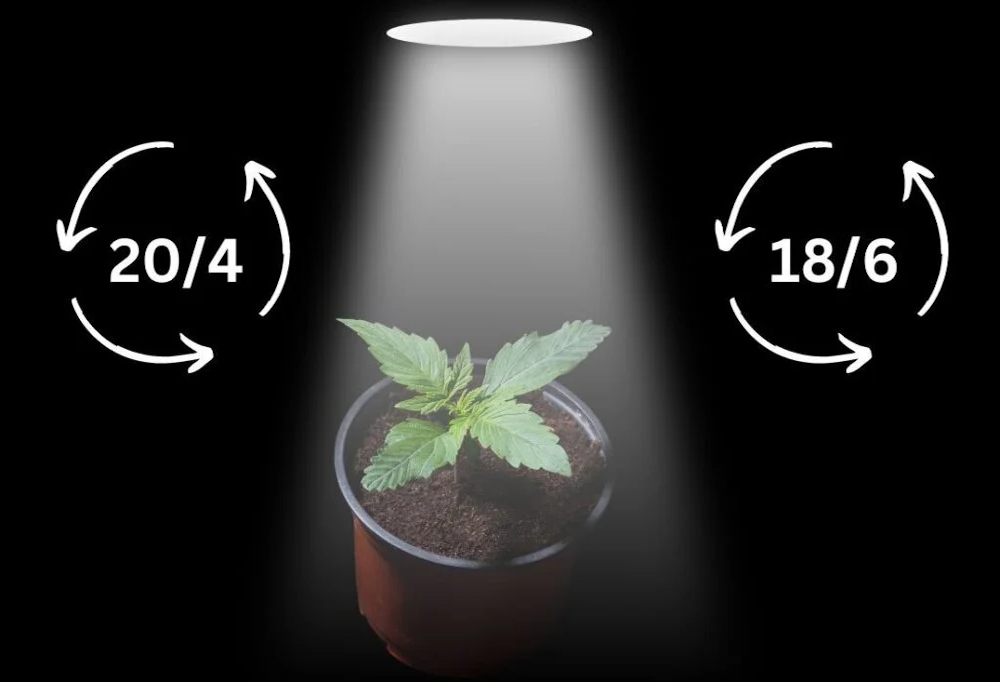
Because autos flower based on age, not photoperiod, you can keep the lights on for extended periods throughout the entire grow. These are the most common schedules:
- 18/6: Balanced and energy efficient. Gives plants time to rest and reduces heat buildup.
- 20/4: Slightly more growth potential. A good middle ground if heat is controlled.
- 24/0: Maximum light, no dark period. Some autos thrive under this, but it can stress certain cultivars and drive up electricity costs.
I run 20/4 in most cases. I find it strikes a really nice, even balance and allows the plants just enough rest while maximizing that bud potential.
Positioning your grow lights
Light distance depends on the fixture and the growth stage. Too close, and you risk bleaching. Too far, and you lose efficiency.
General rules:
- Seedlings: 24 to 30 inches above the canopy
- Veg: 18 to 24 inches
- Flower: 12 to 18 inches, adjusted based on PPFD readings and plant response
Light should be evenly distributed across the tent. Hot spots or uneven coverage lead to inconsistent growth. If you’re running multiple lights, overlap their spread slightly. Always monitor the canopy for signs of light stress – upward-cupping leaves, yellowing tips, or slowed growth.
Environmental conditions to maintain in a grow tent
Good lighting only works if the environment is stable. Temperature, humidity, and airflow form the foundation of healthy growth. Autoflowers move quickly, so you don’t have time to correct major swings mid-cycle. Keep it consistent, and the plants will respond.
Best temperature and humidity levels for each growth stage
Environmental targets shift slightly as the plant matures. These are the ranges I stick to in my tent:
- Seedling stage: 70 to 80°F (21 to 27°C), 60% to 70% RH
- Vegetative stage: 72 to 85°F (22 to 29°C), 50% to 55 % RH
- Flowering stage: 65 to 80°F (18 to 27°C), 40% to 50% RH
Lowering humidity during flower helps reduce the risk of mold and improves trichome production. I keep a digital thermometer and hygrometer in the tent at all times. Guesswork doesn’t cut it. You need reliable readings to stay ahead of problems before they show up on the leaves.
How to manage VPD (Vapor Pressure Deficit) for autoflowers
VPD is the relationship between temperature and humidity. It affects how efficiently your plants move water through their system, which directly impacts nutrient uptake and growth rate.
I didn’t start paying attention to VPD until my fifth year of growing. Before that, I just focused on keeping temps and humidity within the right range. That worked well enough, but once I began tracking VPD properly, I noticed a clear difference.
Growth became more uniform, leaf posture improved, and the plants simply looked more composed from week to week.
If you’re just starting out, use a basic chart or calculator to get close. Aim for:
- Seedlings: 0.4 to 0.8 kPa
- Veg: 0.8 to 1.2 kPa
- Flower: 1.2 to 1.6 kPa
You don’t need perfect numbers, just consistency. Stable VPD leads to healthier growth and fewer strange symptoms. If your plants are drooping, clawing, or showing nutrient issues that don’t add up, VPD is often the missing piece.
Using fans, filters, and climate control tools effectively
At minimum, you need:
- An exhaust fan to remove hot, humid air
- A passive or fan-assisted intake for fresh air
- An oscillating fan to keep air moving within the canopy
- A hygrometer and thermometer for monitoring
Extras like a humidifier, dehumidifier, or heater come into play if your ambient environment is far off target. Automation is useful, but definitely not essential for hobby growers.
What matters most is that your temperature and humidity stay within range, and that you have airflow at every stage of the grow.
Training and maintenance techniques for autoflowers in grow tents
Autoflowers grow on a schedule. Training has to be early, deliberate, and suited to thespecific genetics. I keep it simple and avoid unnecessary stress, especially once the switch from veg to flower has begun.
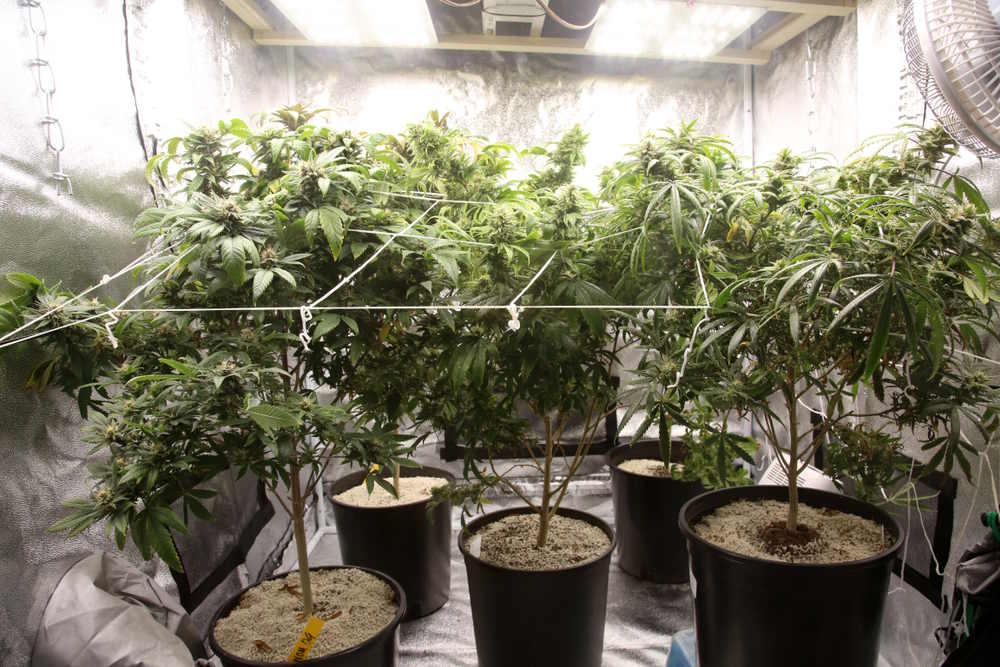
SCROG in a tent
I use a screen on nearly every run, no matter the tent size. It keeps the canopy even, supports flowering branches, and helps make better use of horizontal space.
I guide the growth outward while the plant is still in veg, then let it settle naturally into the net. Once stretch is over, the screen holds everything in place without much interference.
Low-stress training (LST)
If I’m not using a screen, I use LST. Bending the main stem and tying it down helps flatten the canopy and improve light penetration. It’s effective and low risk, which makes it a good default for most setups. But if the screen is already doing the shaping, LST isn’t really necessary.
Topping
I top most of my autos after the third node. It encourages a more even canopy and better lateral growth, especially in larger tents.
That said, topping autos comes with risk.
Not all strains respond well, and there isn’t much time to recover if something goes wrong. I wouldn’t recommend it to beginners. Stick to LST for the first few runs until you know how your genetics behave.
Defoliation
I defoliate lightly every run (usually around 30 % of the fan leaves). I focus on opening up the plant without overexposing it. If a leaf is blocking a bud site or blocking air movement, I take it off.
That’s usually enough to keep air moving and light evenly distributed.
General maintenance
I check plants daily for posture, moisture, and early signs of pests or imbalance. I keep the tent clean and tidy between cycles (I always fully disinfect the tent between grows), and fix small problems as soon as they show up.
Order helps the plants stay consistent, and consistency brings better results.
Final thoughts
Autoflowers and grow tents make a solid pair. One keeps things simple, the other keeps things controlled. Get the setup right, and you’ll get fast, healthy plants without much drama.
If I have the room in a tent, then every single auto I grow goes in there. I still grow them outdoors from time to time, but a tent offers more control, fewer surprises, and better results overall.
I run Auto Seeds strains because they’re stable, affordable, and always arrive discreetly. There’s a full guarantee, and the results have always been great for me. Right now, I am growing Permanent Marker Auto, Auto Moonrocks, and Rainbow Glue Autoflower – all bangers through and through.
If you’ve got the space and the time, everything else is manageable. All bangers through and through